Cool Retro style Horizontal Subscription Widget for Blogger/Blogspot
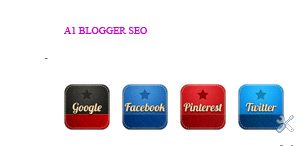
Colorful Social subscription Box for Blogger : Hi friends, Welcome to my New Post “Retro Style Social Widget” for Blogger. […]
Colorful Social subscription Box for Blogger : Hi friends, Welcome to my New Post “Retro Style Social Widget” for Blogger. […]

Complete Killer Onpage Seo tips for Blogspot blogs : Hi friends, Today I am going to share some very useful

Hello friends, today we will learn how to send invitation to all your friends on a single click. We often
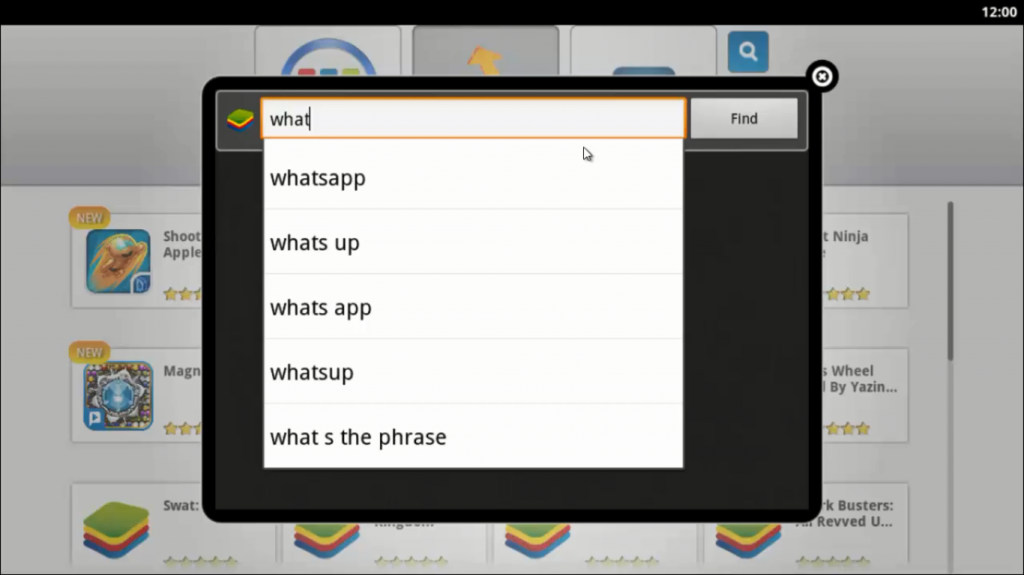
Hi friends, today I am going to share a useful tips for installing most popular messanger Watsapp on your computer.

NEVER COPY CONENTS FOR THE SAKE OF YOUR WEBSITE Hello friends m back with a new tutorial. Its all about
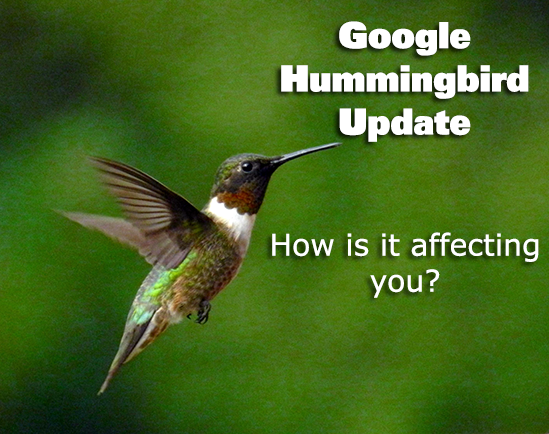
Latest Google trend HUMMINGBIRD : On october 3rd 2013, Google announced a major update known as hummingbird search algorithm. As
