Hello viewers, Today we will learn how to create a feed in blogger, so that after creation we can put an email subscription widget in a Blogspot blog.It is so important for a blog to create its feed using feedburner.
i accept that its little bit lenthy but not tough.
You can read – how to add twitter tab in a facebook page
Benefits :
i accept that its little bit lenthy but not tough.
You can read – how to add twitter tab in a facebook page
Benefits :
- It will provide you to enable email subscription option
- You can post adsense adds within your feed
- Your blog post can be automatically posted to twitter and also you can make setting in twitter for automatic publishing on facebook.
There are also many features of feeds. This post will explain How to create a feed using feedburner. Follow these easy steps to start now.
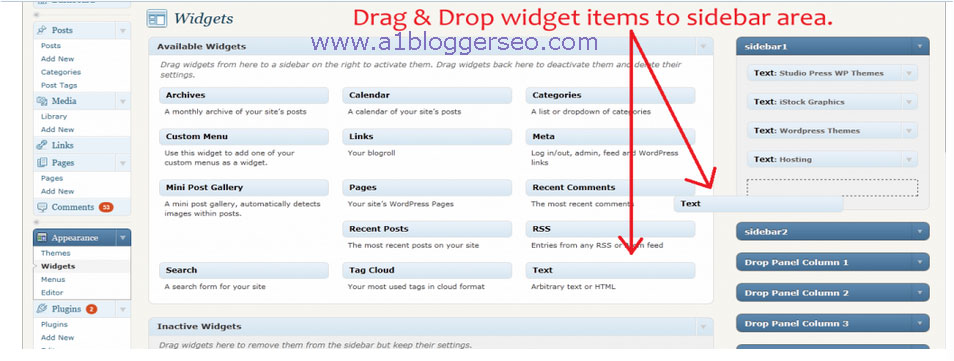
How to create and publish Blogger feed using Feed burner for email subscription
- Go to feedburner
- Login with ur google account and password
- In feedburner Dashboard, Enter your feed address in this format:
http://www.sanjuchoubey.blogspot.com/feeds/posts/default?alt=rss
(You have to change your blog address with sanjuchoubey.blogspot.com)
- After adding this click on next button as shown in below figure.
 |
| Type a feed and then click on next |
- You have to enter your feed in step-1 area after insertion click on next
- you will see the window as shown in fig.
 |
| You have to change feed address with exactly what u want |
Important :
You have to change feed address in your case if you choose an existing feed address url it will be error, so it is recommended to you that change the feed address with exactly what you want
- After changing feed address once, Click on next
- you will see a new page will be open showing this as shown in fig.
 |
| This is ur feed address |
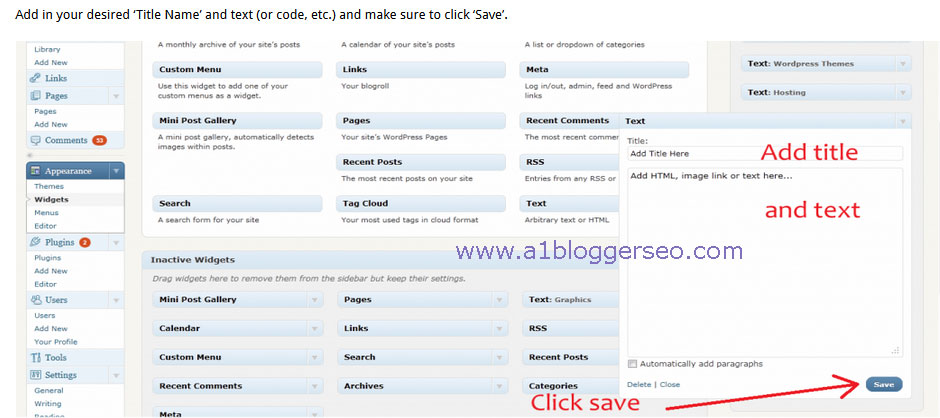
- Your feed address has been created but u need to do some settings. click on the options as shown in fig. and then after click on next:
 |
| Click on options as shown in fig. |
- It is done you will see a message that ur feed is updated.
Now you have to redirect your default blog feed to feedburner feed in ur blog spot blog
Steps :
- Go to Blogger Dash board
- Click on settings
- Now click on other
- Now you have to enter your feed burner feed in Post feed redirect url as shown in the fig.
 |
| Do the setting as shown in the fig. |
- Now click on save your default blog feed will be redirected to Feedburner feed url.
Note: If you want to activate email subscription then must read my article how to activate email subscription in Blogger and add a subscription box.
All done..!!!! If you are facing any problem, plz let me know. God bless!!!!tc!!!!